ESP32 Weather Station
I've never before played with electronics, so after purchasing a microcontroller (ESP32), a whole new world opened before me. Ohm's law, voltage divider, Zener diodes, flux, I2C, amperes, and so many things and concepts to learn and play with!
As many of us do, I first bought the hardware and only after question about what to do with all of it :) The first project, like programming a "hello world", must be a weather station. Plenty of examples on the net, and code available to quickly test if the sensor gets some values. So let's solder and inhale some fumes...
Sensors
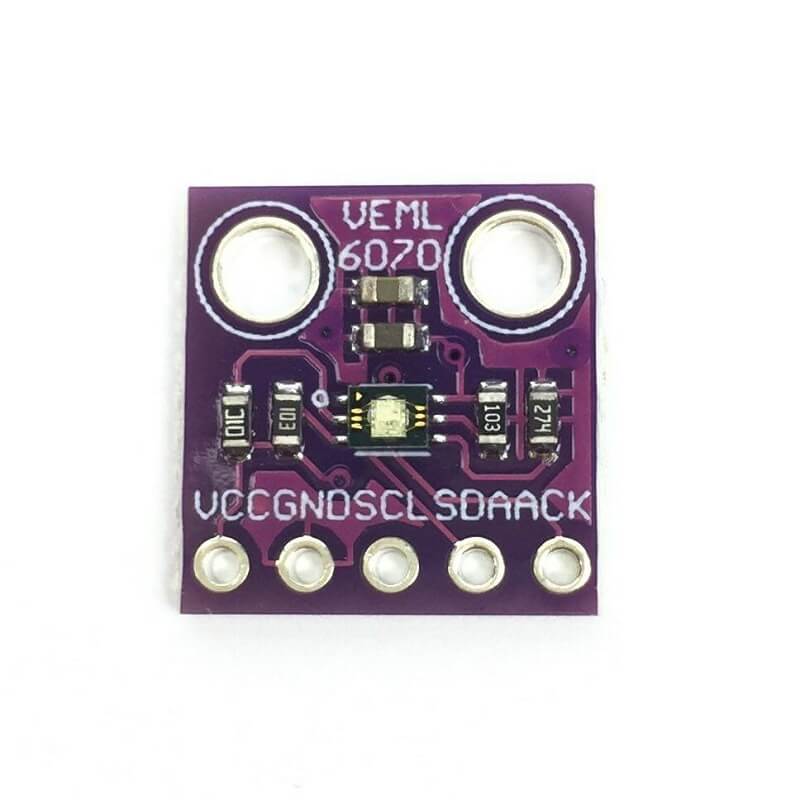
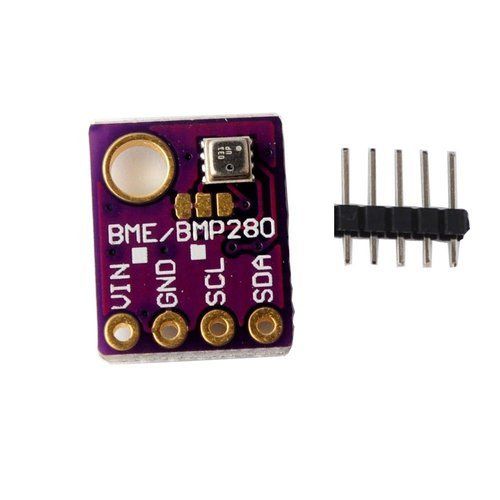
First the sensors: temperature, humidity, pressure handled by Bosch BME280, UV with VEML6070 and for ambient light MAX44009. Super easy, they are all using the I2C bus and function with 3.3V. That's almost plug & play! Five values with three tiny sensors, not bad for a start.
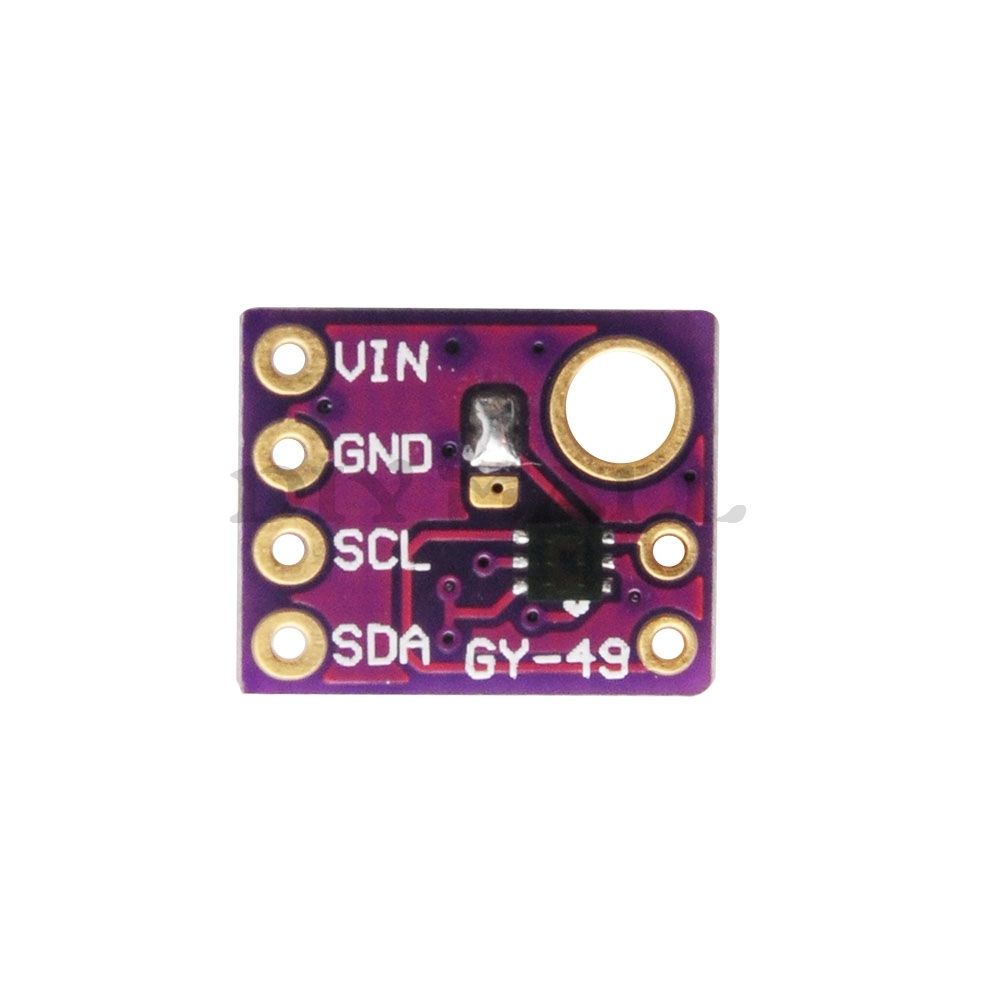
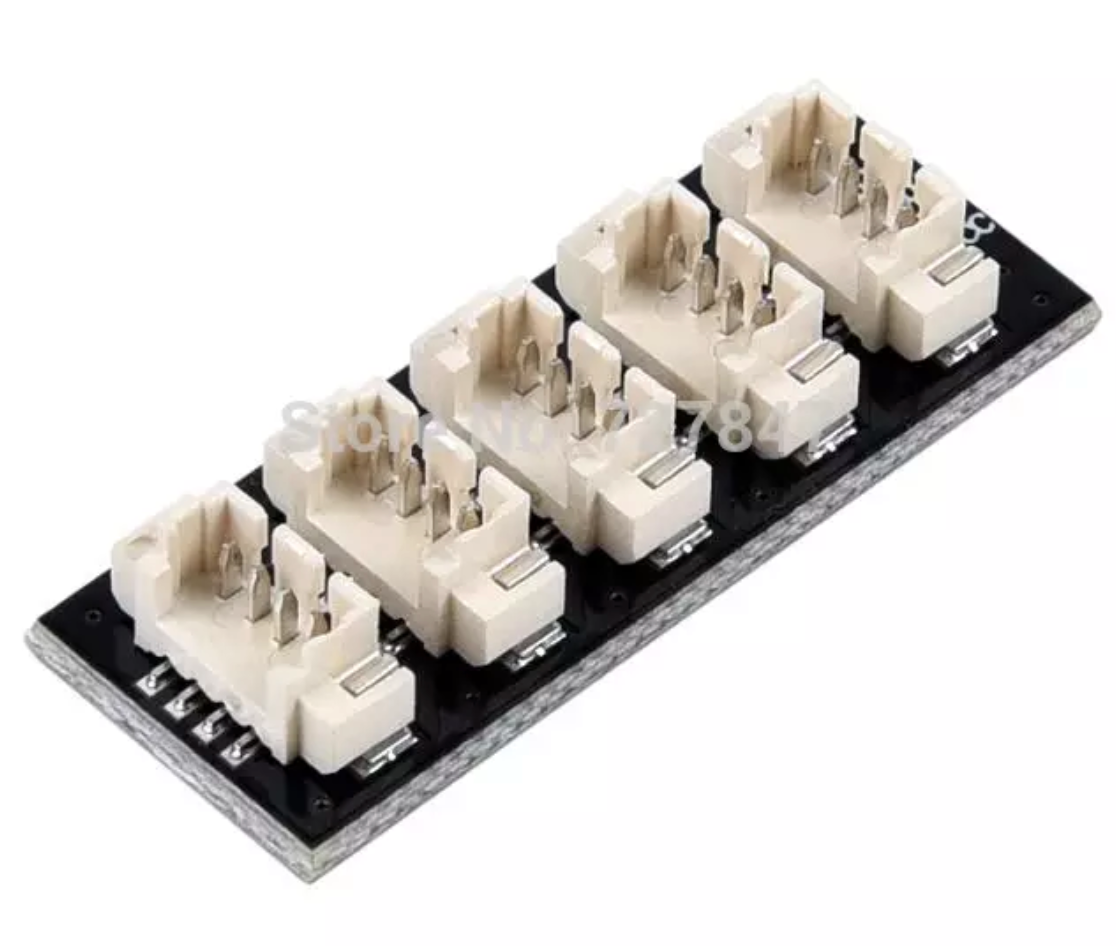
Only 4 wires needed to connect them, but to keep things modulable and easy to replace, I used a socket to connect everything, like this one:
AQS - Air Quality Sensor
This one's a bit special. I'm using the SDS011 Nova PM laser sensor. I also have the PMS5003, but since it's beautiful I'm keeping it indoors :)
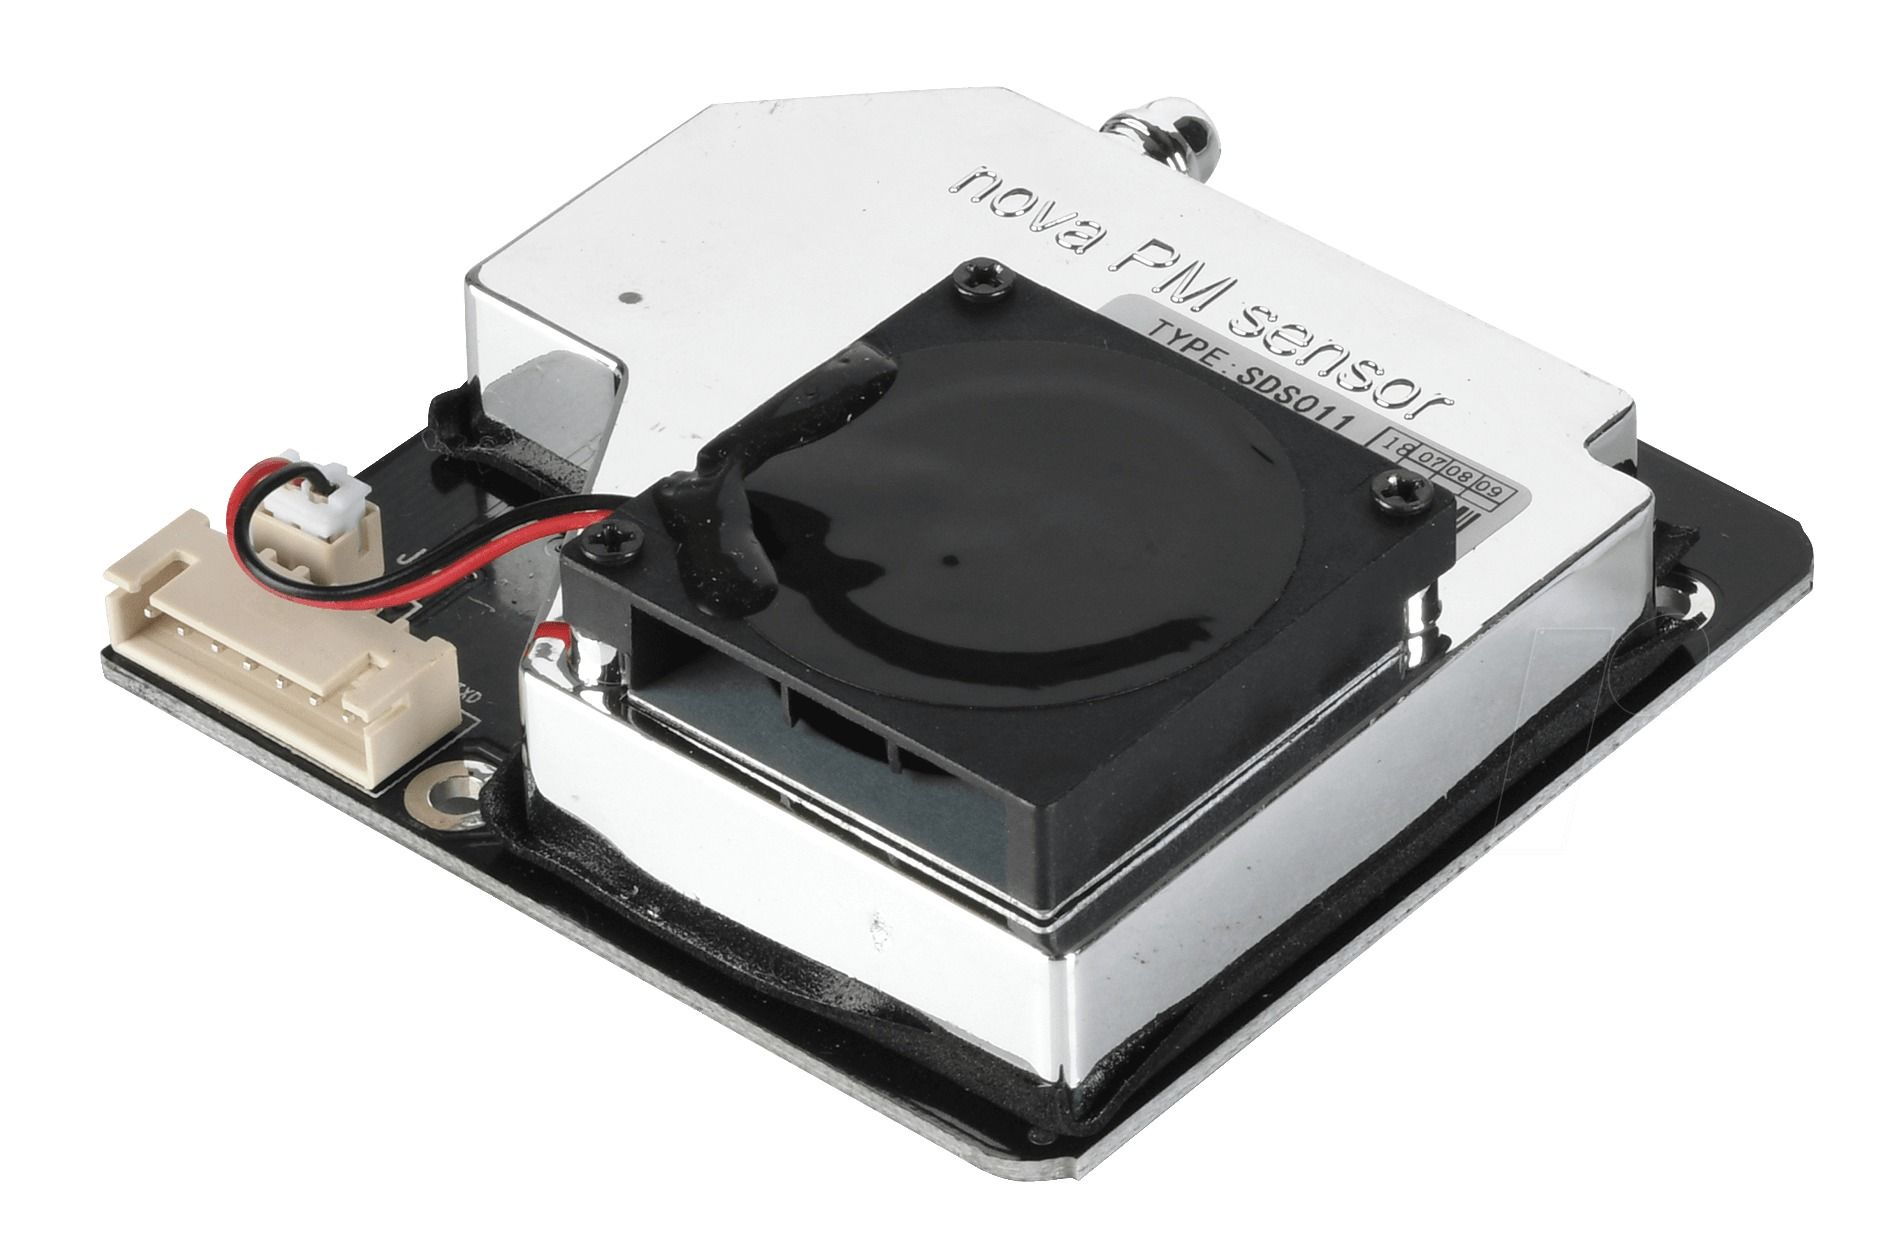
It is using a laser to count the particulate matter in the air. The PM2.5 and PM10 values are exposed by this sensor. Not an I2C device, it's using serial communication and since there's a fan, it needs 5V.
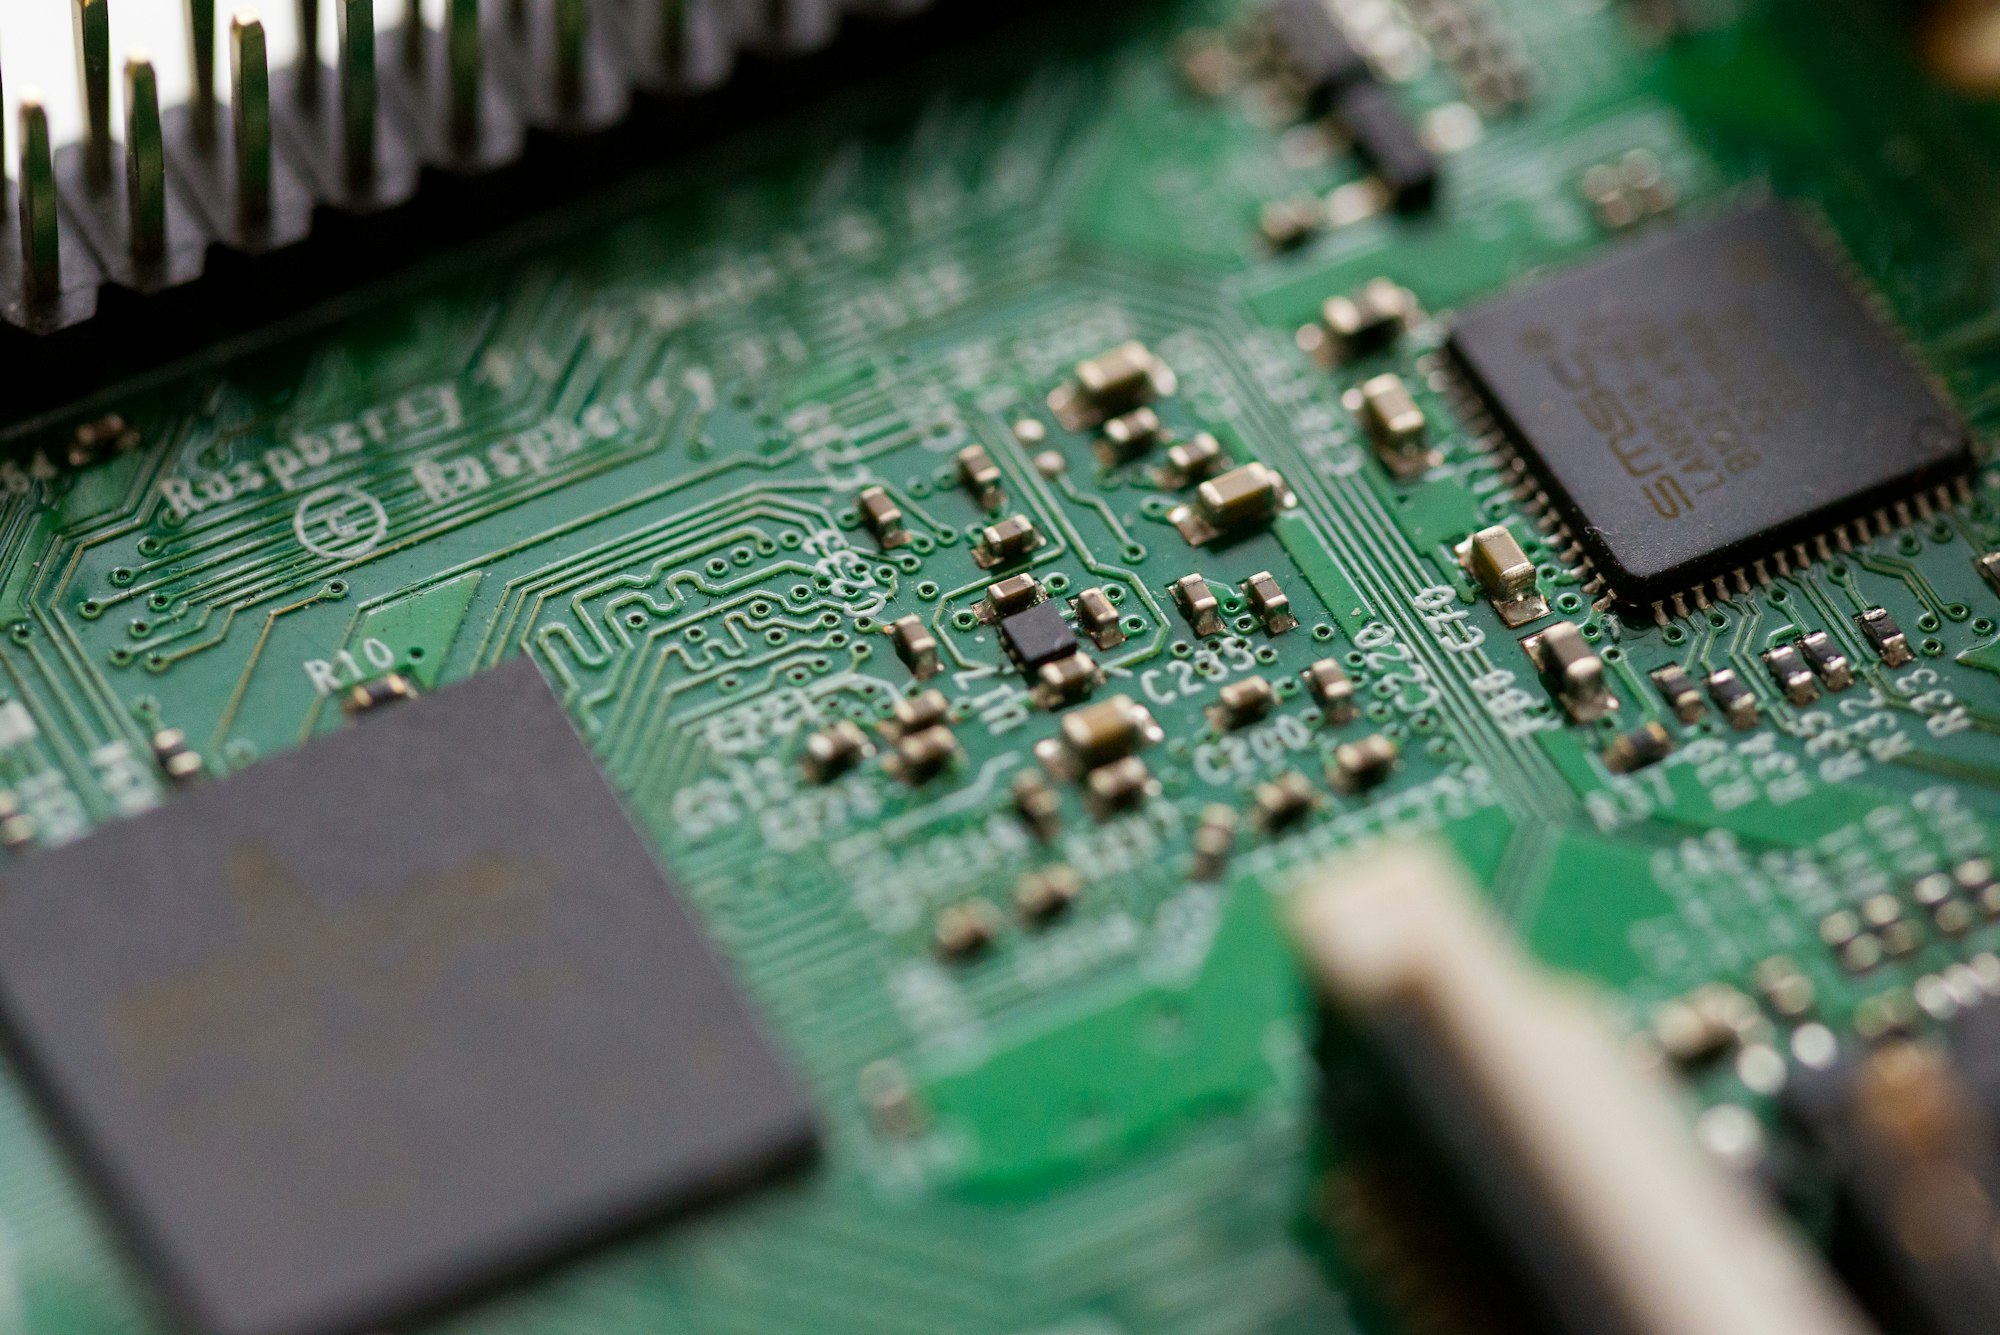
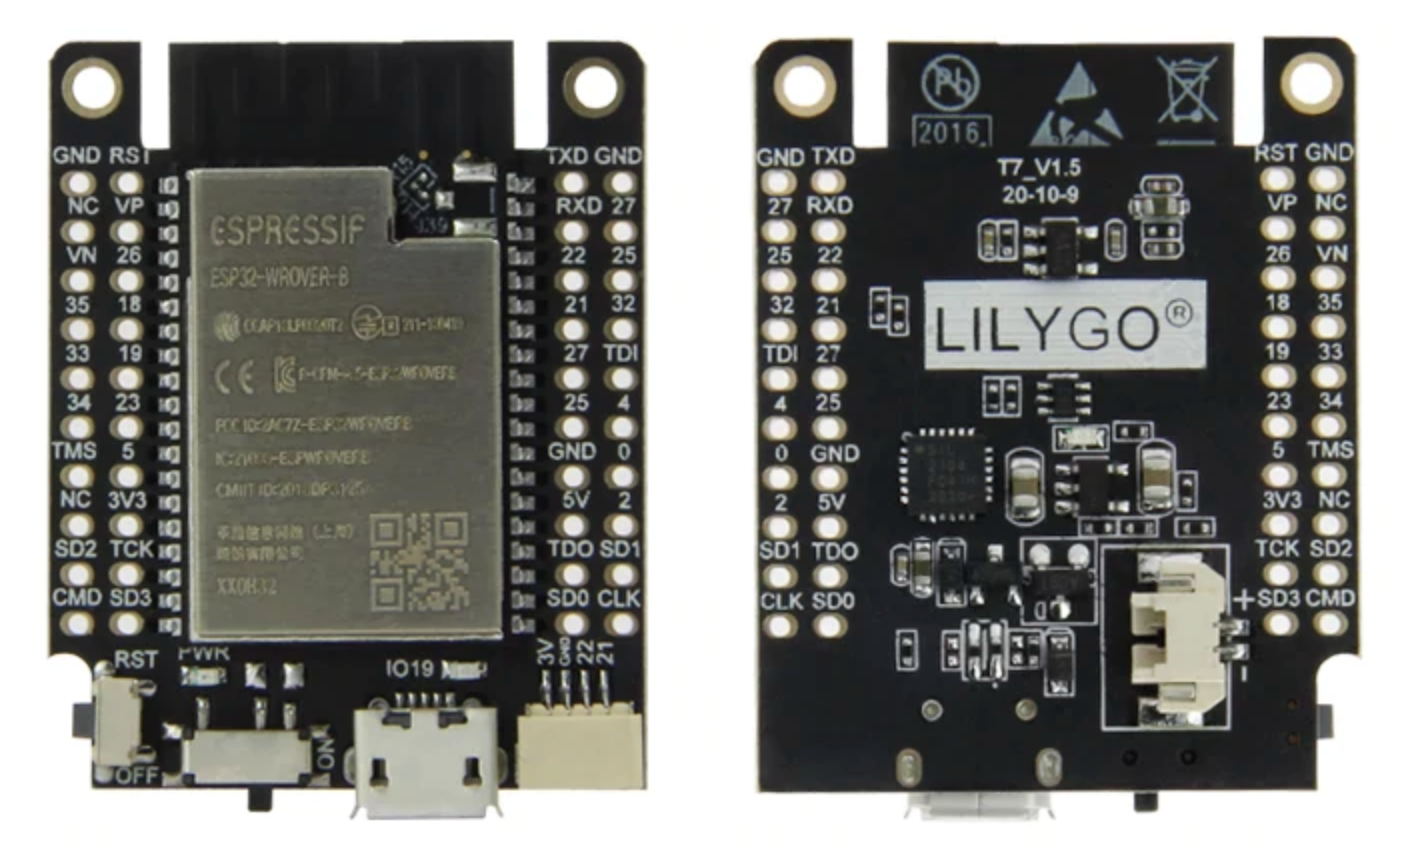
Giving it a brain
The MCU, or microcontroller is the one that makes everything possible. I've chosen the TTGO T7 V1.5 Mini ESP32-WROVER-B, only because it has battery support and no separate charging module is required.
Power
After using multiple power banks and not finding one that can charge/discharge at the same time, using a "simple" battery connected to the TTGO was the way to go.
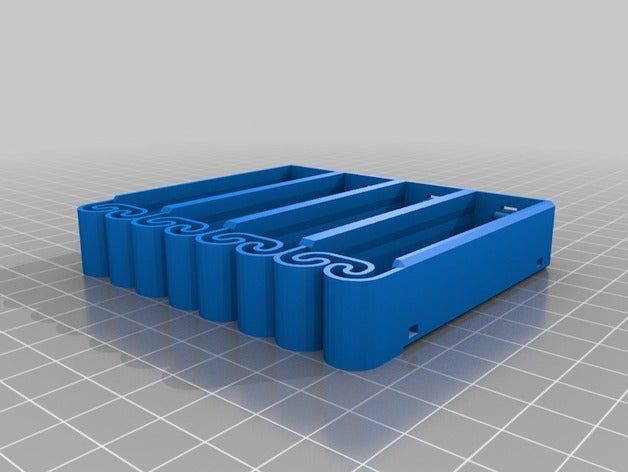
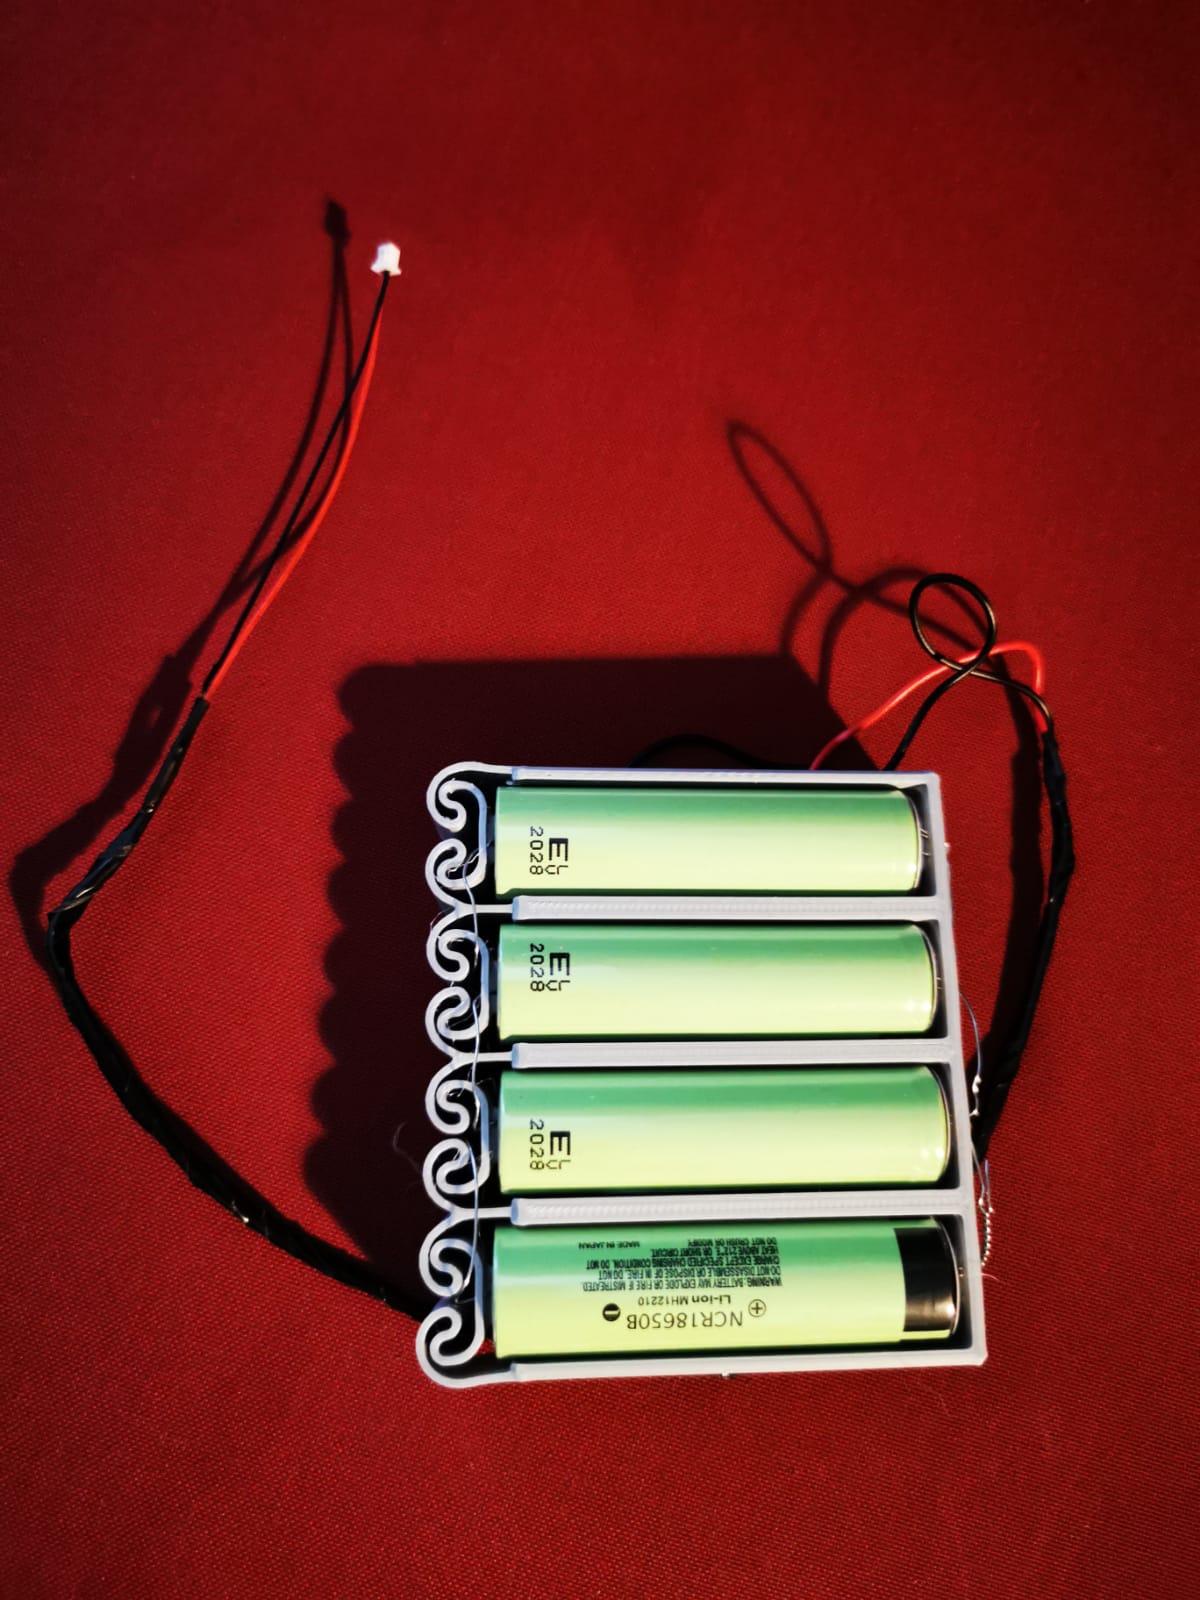
So I printed a battery holder that accommodates four 18650 batteries and now I have a capacity of 12Ah available for my contraption.
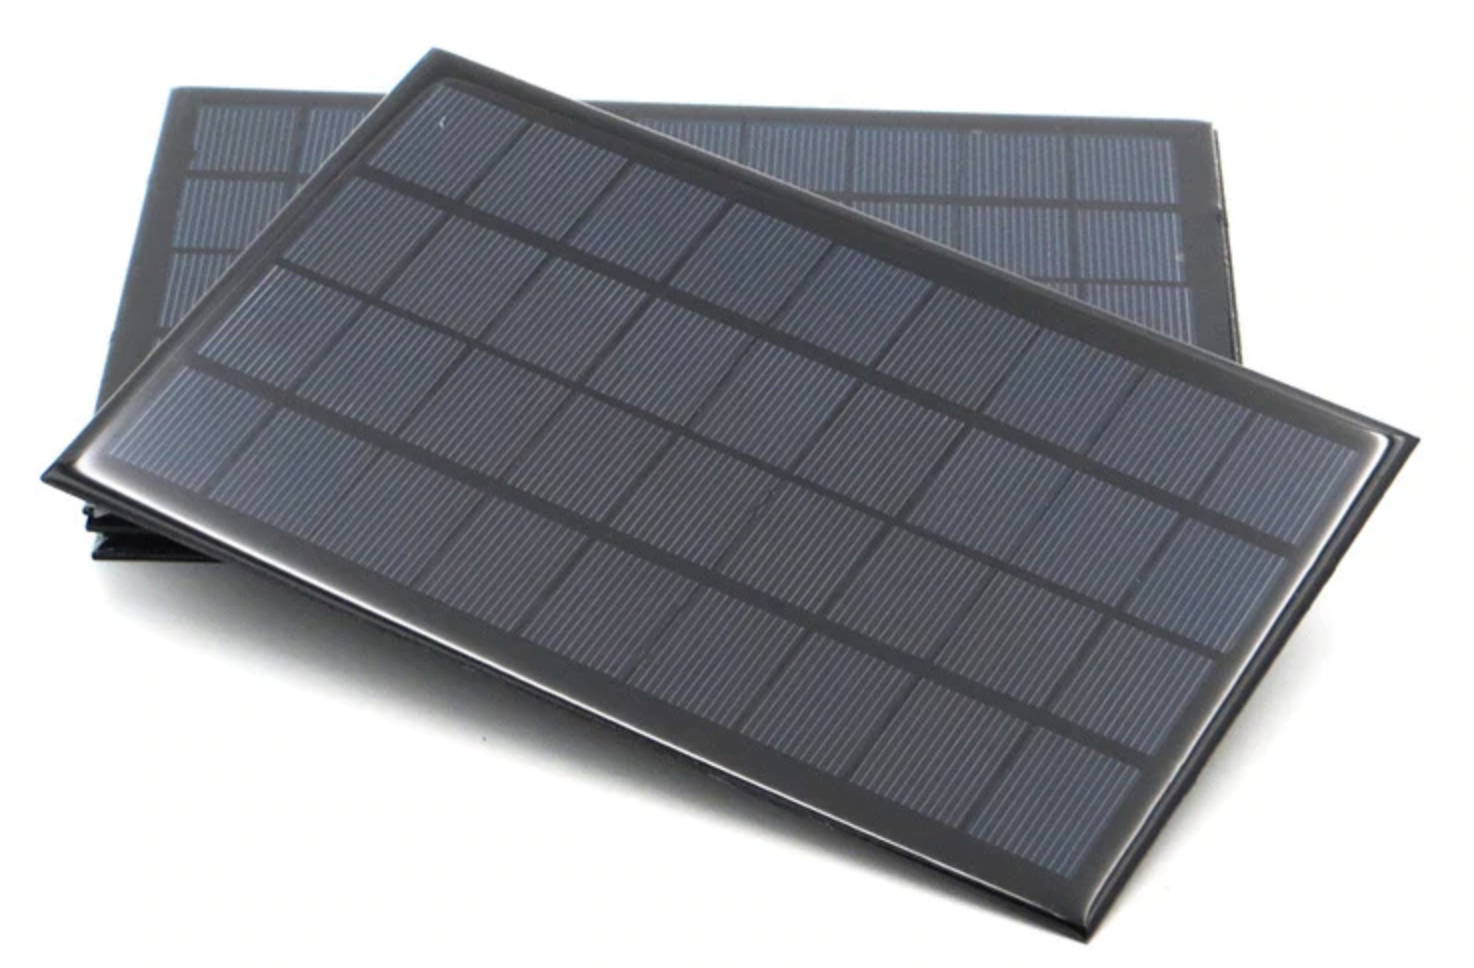
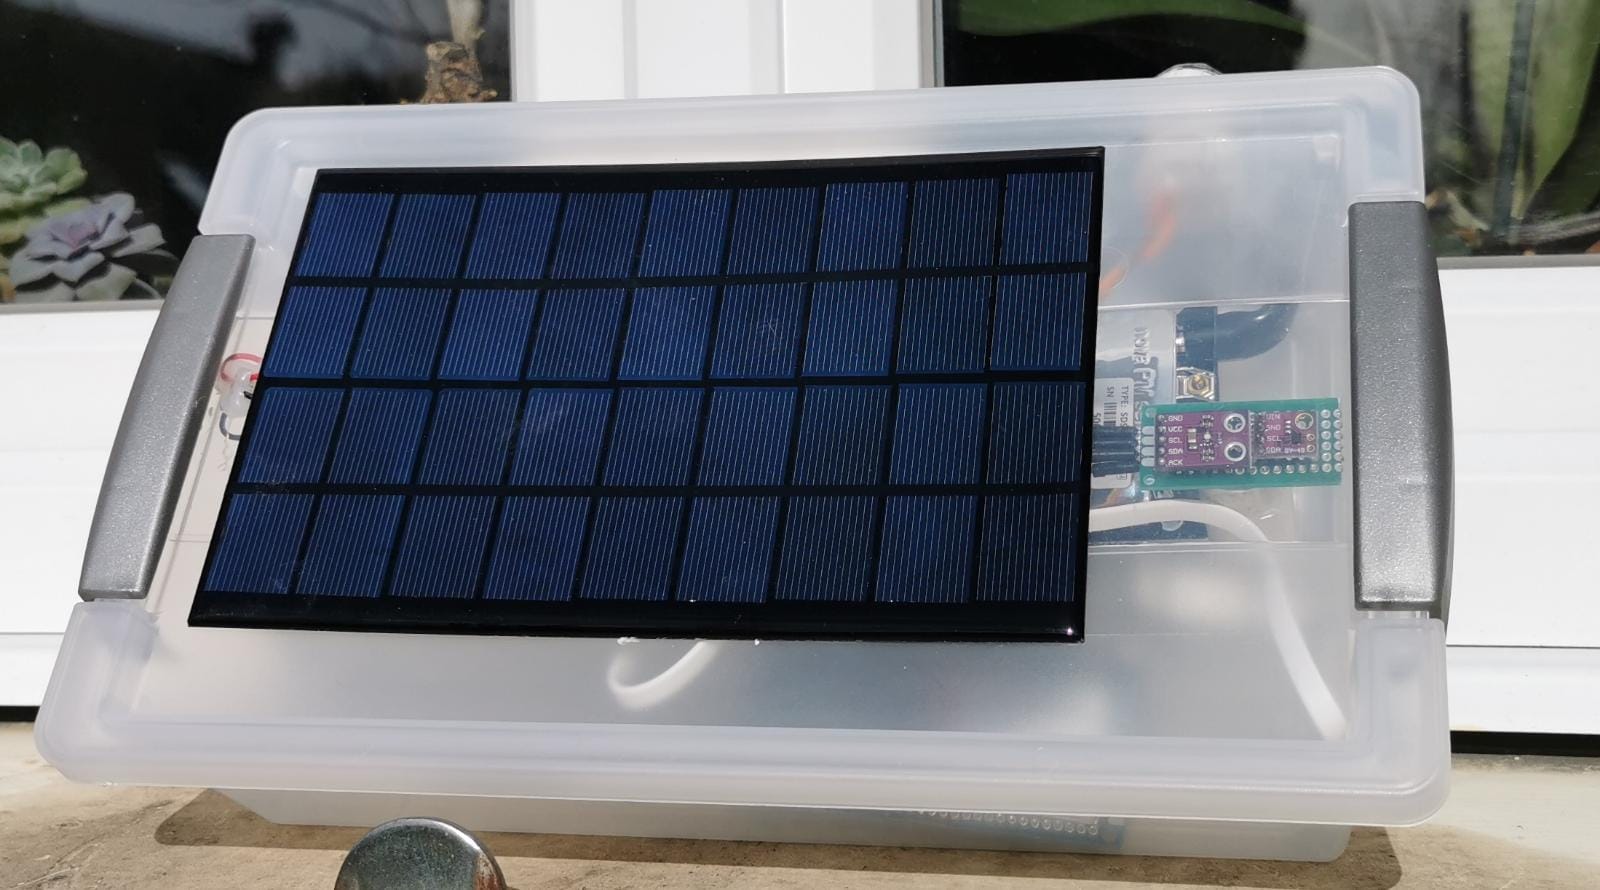
For charging, I'm using a 9V 3W solar panel, like the one below:
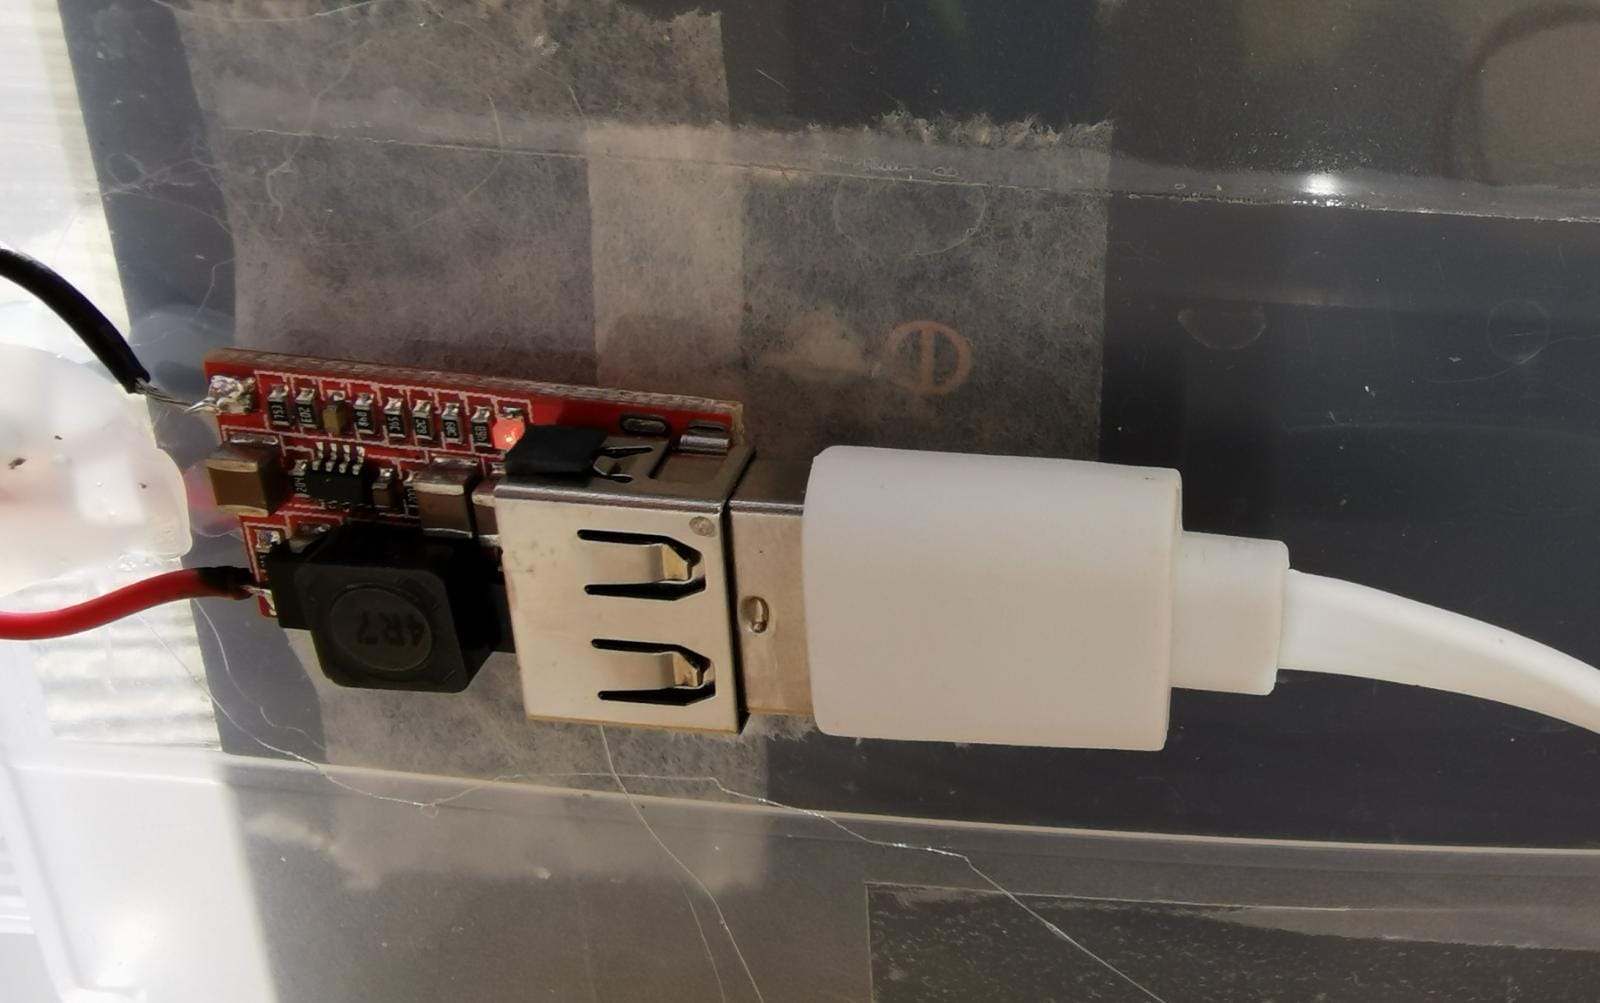
The panel doesn't have a USB port, so I broke an old car USB charger and used a cable to power the microcontroller (and charge the battery).
Everything is enclosed in a plastic box and looks like this:
Software
I have a bit of wifi coverage outside, so the ESP32 microcontroller has an internet connection. The data goes to my thingspeak channel and is also sent to my MQTT broker for storage. To save energy, if the ambient light drops under a certain level (night), the polling of the sensors is executed every 5 minutes. During the day, the data is sent every minute.
Bill of materials
SDS011: 14.6€
TTGO T7 ESP32: 5.8€
Solar panel: 5€
BME280: 5€
VEML6070: 2€
MAX44009: 1.1€
Pixhawk I2C splitter: 2.6€
TOTAL: 36€
Conclusion
This took a bit of spare time to complete. A few head scratches and a lot of things learned on the way. Discovered a friendly community and burned my fingers when soldering. I had a lot of fun doing it and I'm already thinking about what my next project will be :)